
Install SAP GUI on Windows and Mac
Step-by-step guide to download SAP GUI from ManbiTech, install it, add your SAP system and log in for the first time. Enter your system details once and every step below shows your values.
Before you start
SAP GUI is the program you use to open and work in your ManbiTech SAP system. Installing it takes about 15 minutes and you only do it once on each computer.
Download the software
Get the SAP GUI 8.00 package from the ManbiTech download link.
1Open the download link
Click the button (or copy the link into Chrome or Edge). It opens the ManbiTech file share.
⬇ Download SAPGUI_800.zip (Windows)2Download the file
Click Download at the top of the page. The file SAPGUI_800.ZIP (about 1.6 GB) is saved in your Downloads folder. Wait until the download has finished.
3Unzip the file
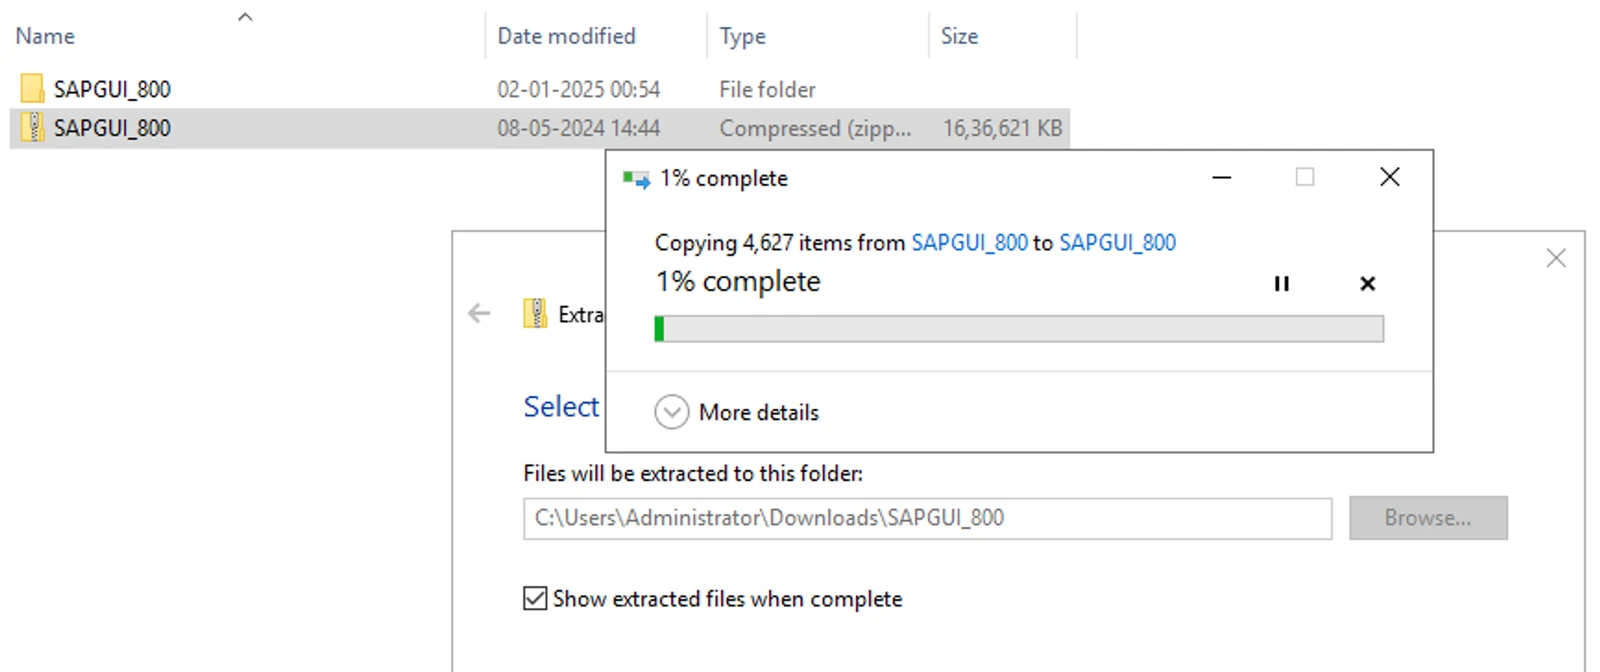
Open Downloads, right-click SAPGUI_800.ZIP, choose Extract All… and click Extract. A folder named SAPGUI_800 is created.
Install SAP GUI
Run the SAP Front-End Installer and keep the default choices.
4Run SetupAll as administrator
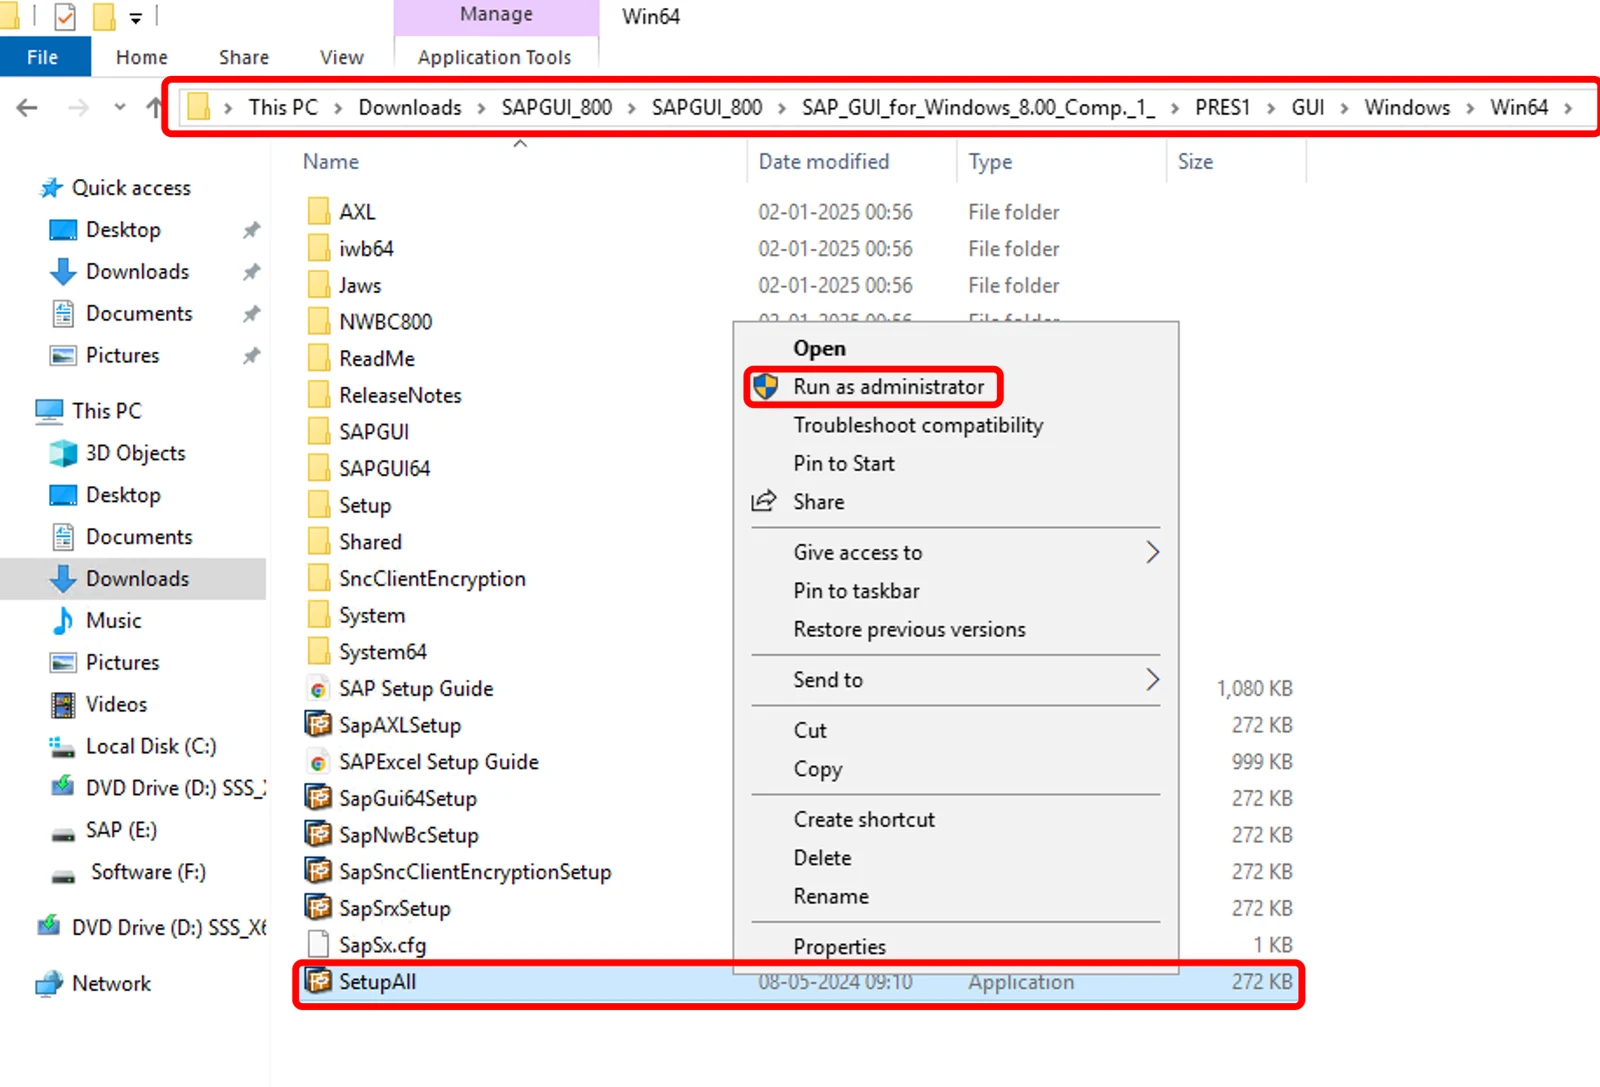
Open SAPGUI_800 → … → PRES1 → GUI → Windows → Win64. Right-click SetupAll and choose Run as administrator. Click Yes if Windows asks for permission.
5Start the installer
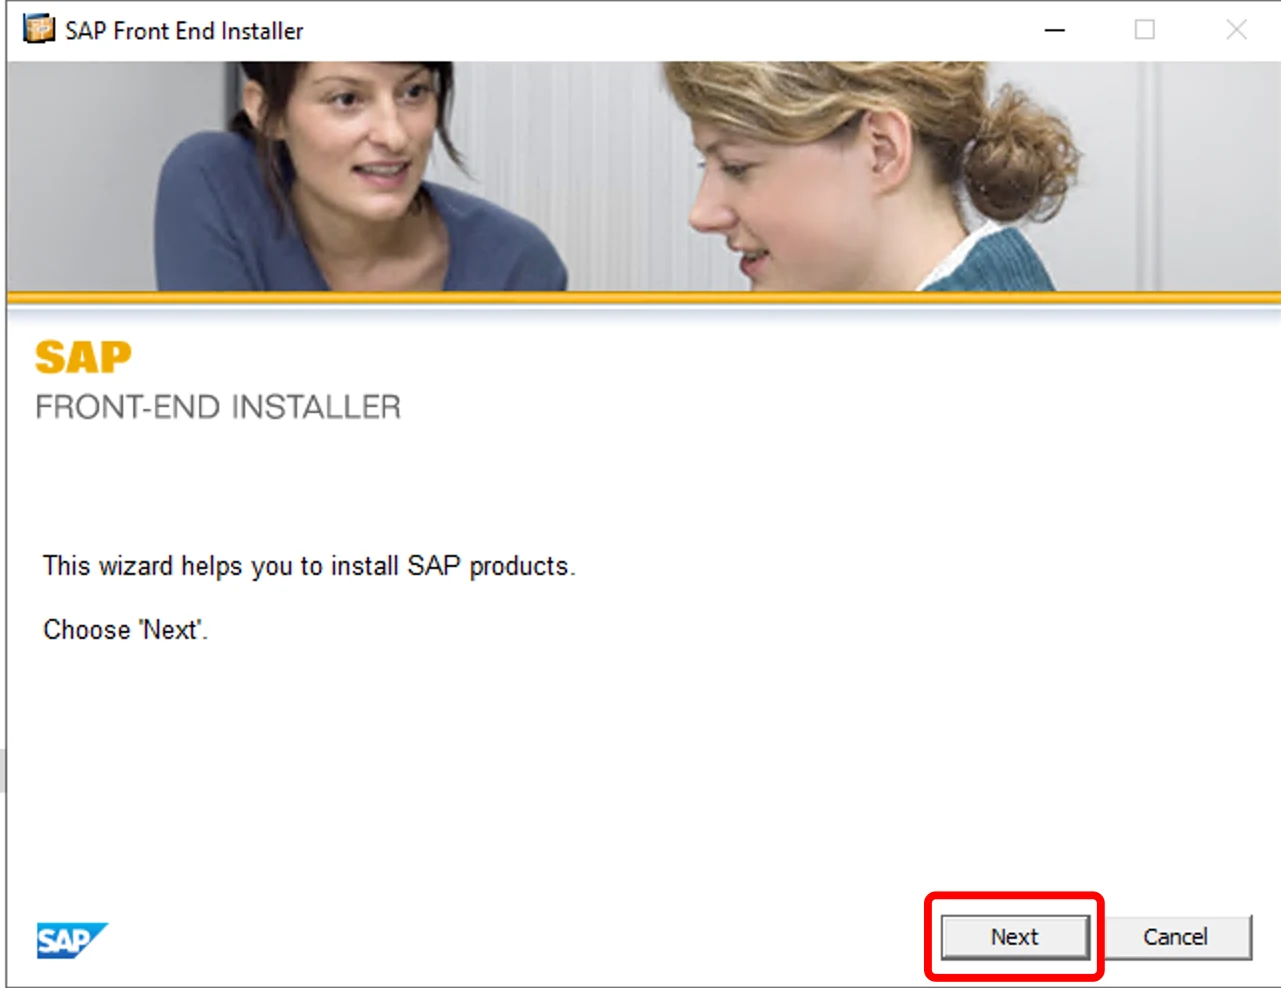
The SAP Front-End Installer opens. Click Next.
6Choose SAP GUI for Windows
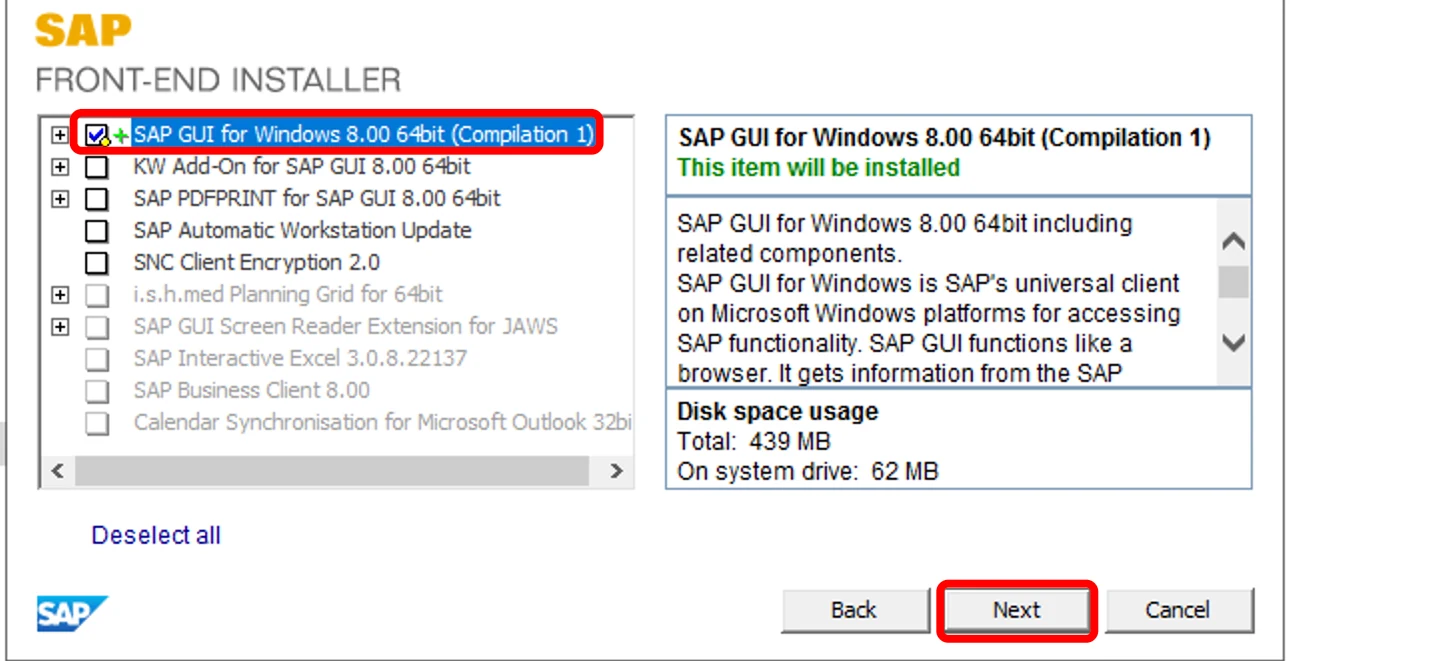
Tick SAP GUI for Windows 8.00 64bit (Compilation 1) and click Next. You do not need the other items.
7Keep the install folder
Leave the folder as C:\Program Files\SAP\FrontEnd and click Next.
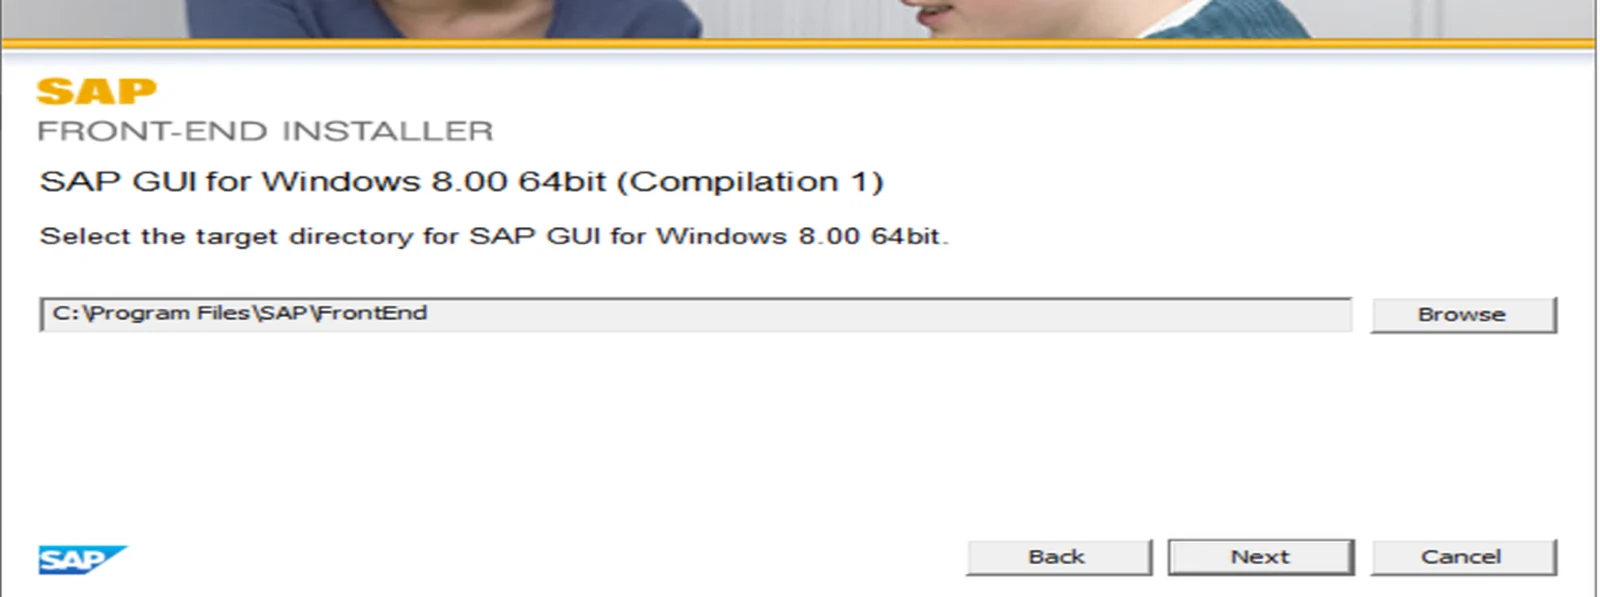
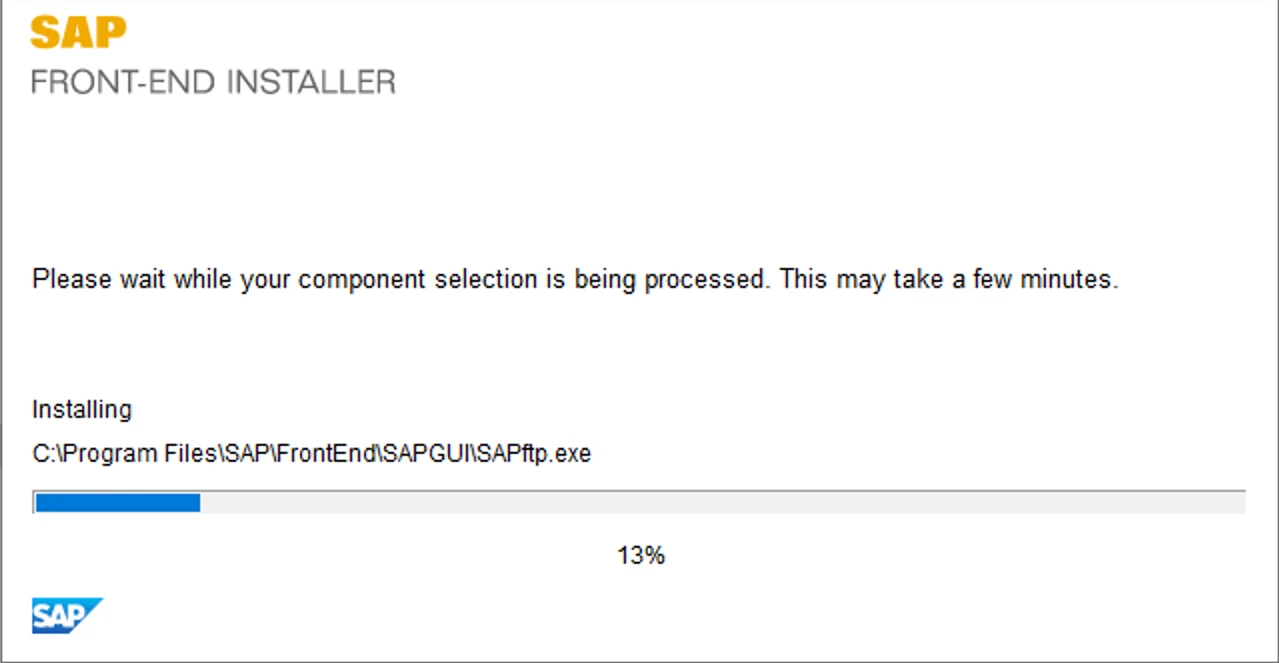
8Wait for the installation
SAP GUI is being installed. This takes a few minutes – do not close the window.
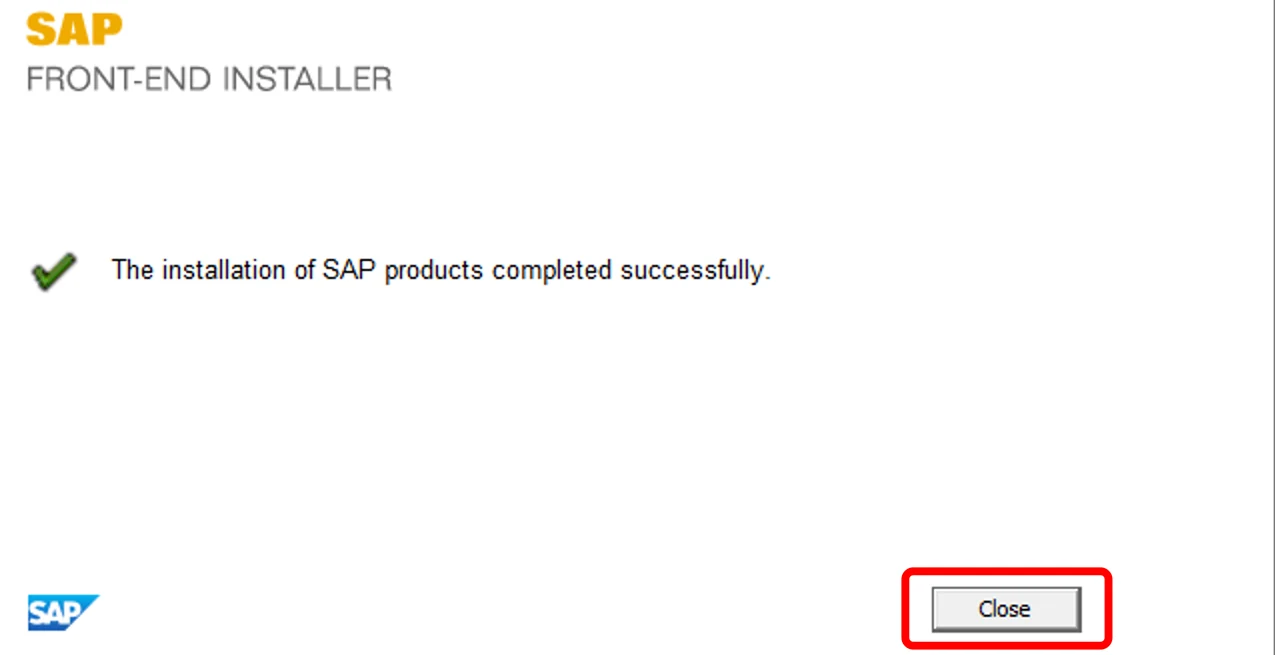
9Finish
When you see The installation of SAP products completed successfully, click Close.
Add your SAP system
Do this once, with your system details.
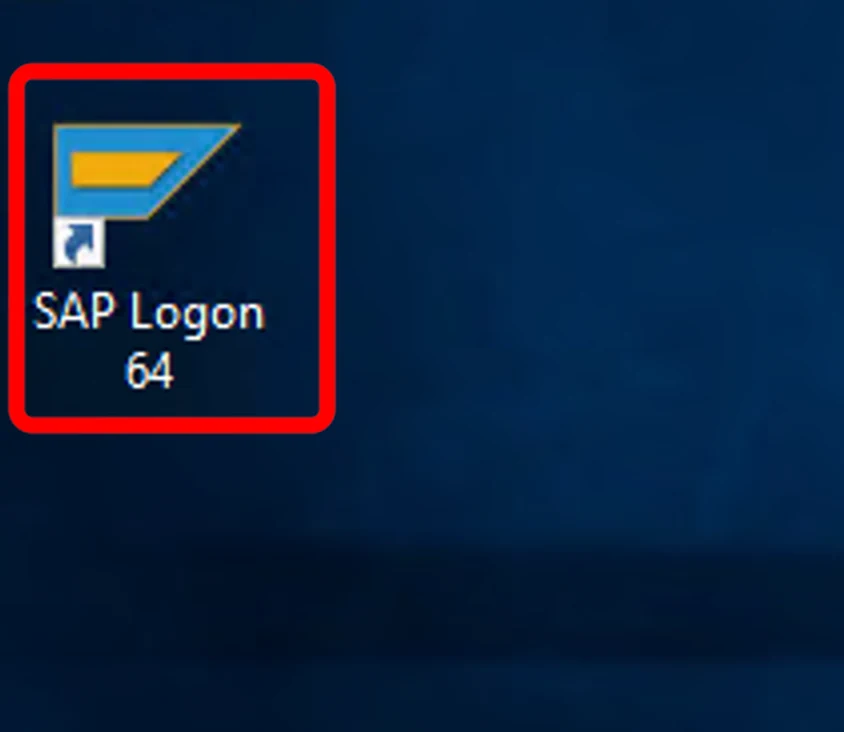
10Open SAP Logon 64
Double-click the new SAP Logon 64 icon on your desktop (or search for it in the Start menu).
11Create a new connection
In SAP Logon, right-click an empty area of the connection list and choose Add New Entry → Connection. You can also press Ctrl + N.
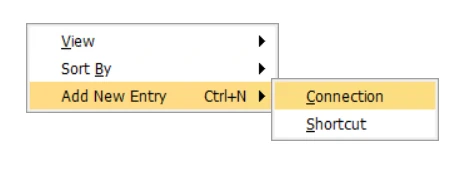
12Choose User Specified System
The Create New System Entry window opens. Click User Specified System at the top of the list (leave SAProuter empty unless ManbiTech gave you one), then click Next >.
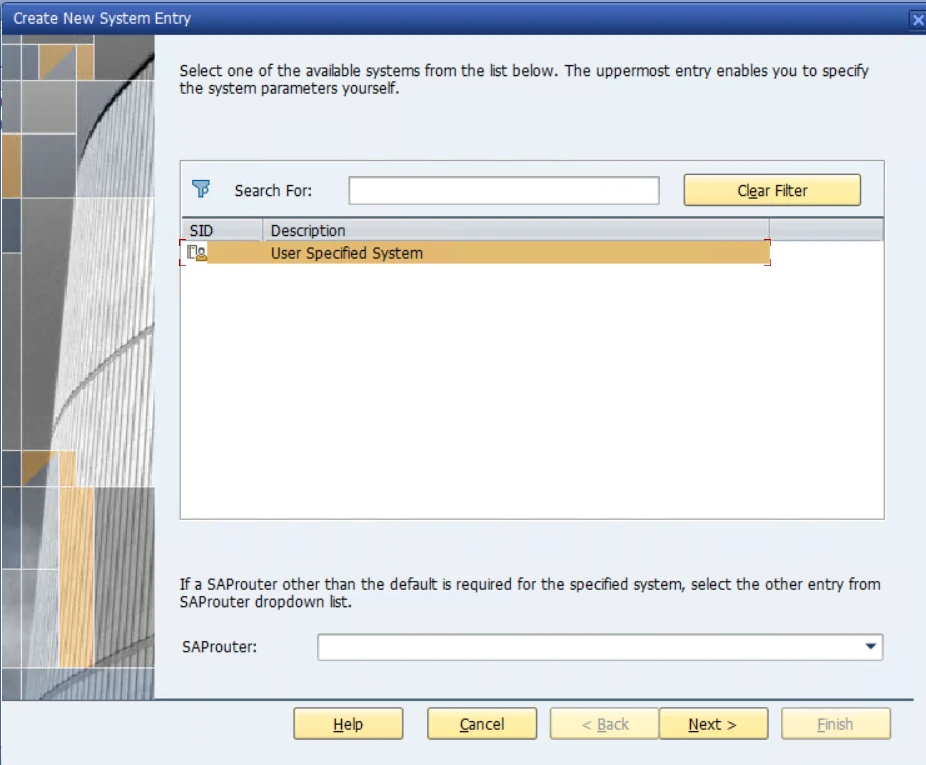
13Enter your system details
Select Custom Application Server, type the values exactly as shown below, then click Finish.
| Field | What to enter |
|---|---|
| Connection Type | Custom Application Server |
| Description | (any name you like) |
| Application Server | |
| Instance Number | (two digits) |
| System ID | (three characters) |
| SAProuter String |
14Check your system is listed
Your new system now appears in the SAP Logon list.
| Name | SID | Group/Server | Instance |
|---|---|---|---|
Log in
Open your system and sign in with your SAP user.
15Open the system and sign in
Double-click in SAP Logon. Enter client , user and the password from ManbiTech, then press Enter. On your first login SAP asks you to set a new password of your own.
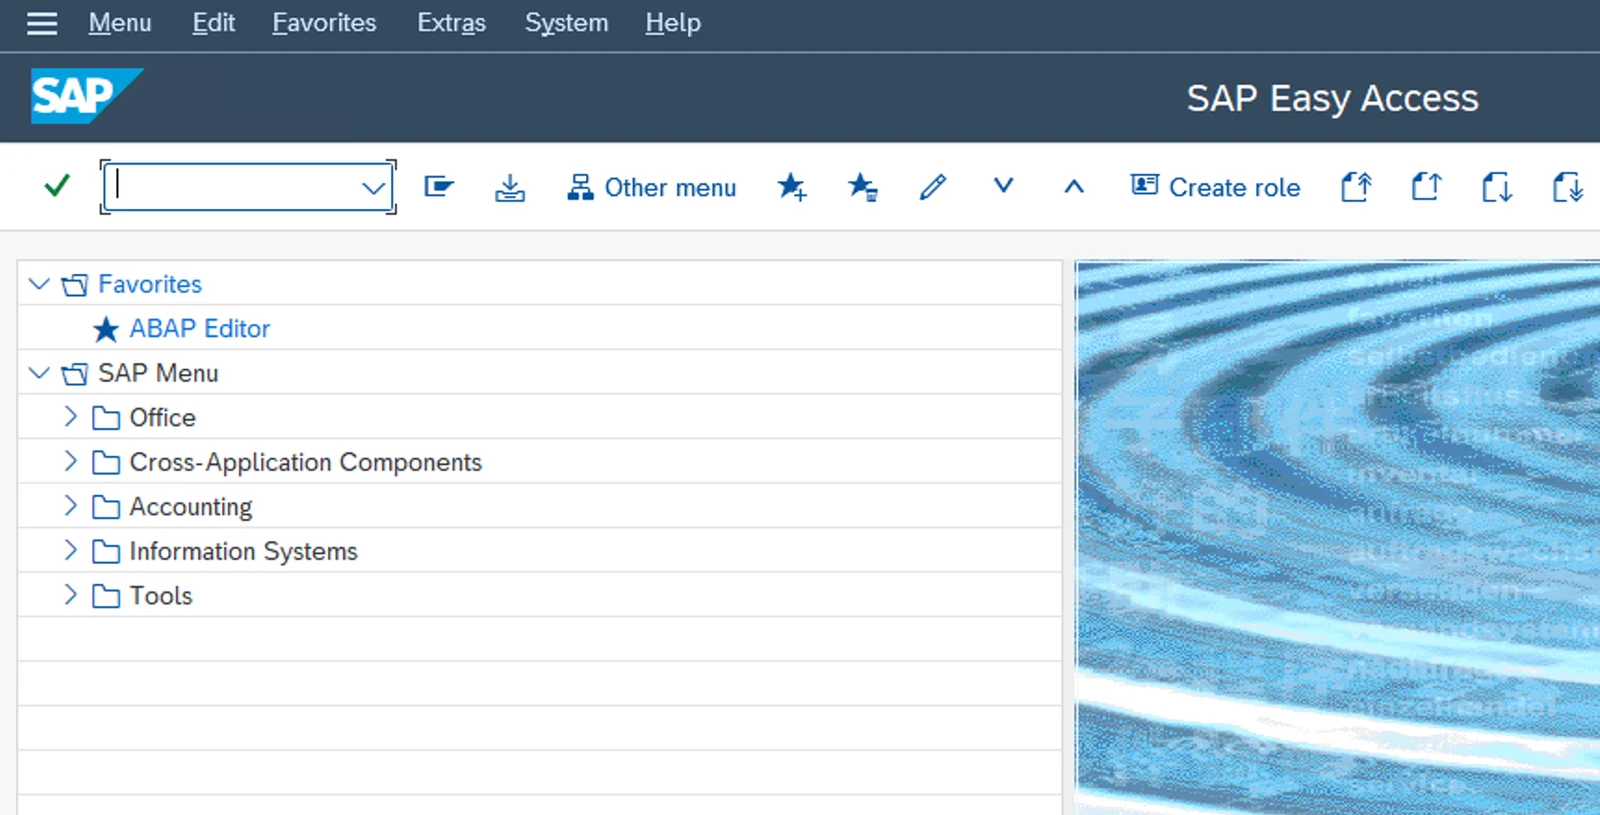
16You are in
The SAP Easy Access screen opens. SAP GUI is ready to use.
Good to know
Quick fixes for the most common problems.
The download link does not open
I can’t find SetupAll
Installation stops with an error
SAP Logon 64 is not on my desktop
“Partner not reached” or connection error
“Name or password is incorrect”
Forgot my SAP password
Before you start
On a Mac you use SAP GUI for Java 8.10. Installing it and adding your system takes about 10 minutes.
Install the software
Download the disk image and copy SAP GUI into Applications.
1Download the installer
Download SAP GUI for Java 8.10 from the ManbiTech share drive. The file SAPGUI800_SAPJAVA_MacOS_810_0-80009303.dmg (about 200 MB) is saved to your Downloads folder.
⬇ Download SAP GUI for Java 8.10 (Mac)2Open the disk image
Double-click the .dmg file. A window called SAP GUI for Java Installer opens with a SAP Clients folder and an Applications folder.
3Drag “SAP Clients” onto “Applications”
This version has no installer program – double-clicking does nothing. Drag the SAP Clients folder and drop it on the Applications folder, then wait a few seconds for the copy to finish. Afterwards, eject the installer (eject icon next to SAP GUI for Java Installer in the Finder sidebar).
SAP Clients
Applications
4Open SAPGUI
Go to Finder → Applications → SAP Clients and double-click SAPGUI.
5Allow it to open (only if macOS blocks it)
If you see “SAPGUI cannot be opened because it is from an unidentified developer”, open System Settings → Privacy & Security, scroll down and click Open Anyway. Or right-click SAPGUI and choose Open.
xattr -dr com.apple.quarantine "/Applications/SAP Clients"Add your SAP system
Set up the connection on the Advanced tab.
6Create a new connection
In the SAP GUI for Java window, click the Create icon (the blank page next to Connect).
7Enter a description
The Connection Properties window opens. In Description, type:
8Turn on Expert Mode
Click the Advanced tab, then tick Expert Mode.
9Paste your connection string and save
The box already contains conn=. Click inside it, press Cmd + A and Delete so it is completely empty, then paste:
Check that it says “All parameters valid”, then click Save.
/H/ + server + /S/ + port (32 + instance ) + &systemName= + SID .Connect and log in
Open your system and set your own password.
10Connect to the system
The new entry appears under JavaGUI Services. Double-click , or select it and click Connect.
11Accept the trust level
The first time you connect, a Trust Level Classification: box appears. Leave it on Internal: Generally trusted and click OK.
12Log in
The logon screen opens. Enter your details and press Enter:
| Field | Enter |
|---|---|
| Client | |
| User | |
| Password | The password from the email (case-sensitive) |
| Logon Language | Leave blank |
13Set a new password
On your first login SAP asks you to choose a new password. Type it twice and press Enter. Use at least 8 characters with letters and numbers, and don’t reuse the old one. You’re now logged in to SAP.
Troubleshooting
Quick fixes for the most common Mac problems.
Double-clicking the installer does nothing
macOS won’t open SAPGUI
A “Message Server” window opened
Save is greyed out
“Parameters invalid”
conn=conn=, then paste the string again with no spaces.Connection times out
“Name or password is incorrect”
✓ Do
- Download only from the ManbiTech links
- Run SetupAll as administrator (Windows)
- Change your password at first login
- Log off when you finish (System → Log Off)
✕ Don’t
- Share your SAP user or password
- Install SAP GUI from other websites
- Change settings you weren’t told to change
- Save your password on shared computers
Tell us which step you are on – email info@manbitech.com or WhatsApp India +91 73034 55420 · outside India +49 1522 4361683.